

Bowling tips - How to beat your friends at bowling
Nordic Sportsbar | 14 September 2022
Whether you bowl for fun or want to get seriously good, everyone agrees on one thing: it is more fun when it goes well. We have gathered the tips that make the biggest difference fastest - from choosing shoes and a ball to your stance, swing and release.
Tip 1 - Choose the right equipment
It may sound obvious, but the right equipment can decide how well your game goes.
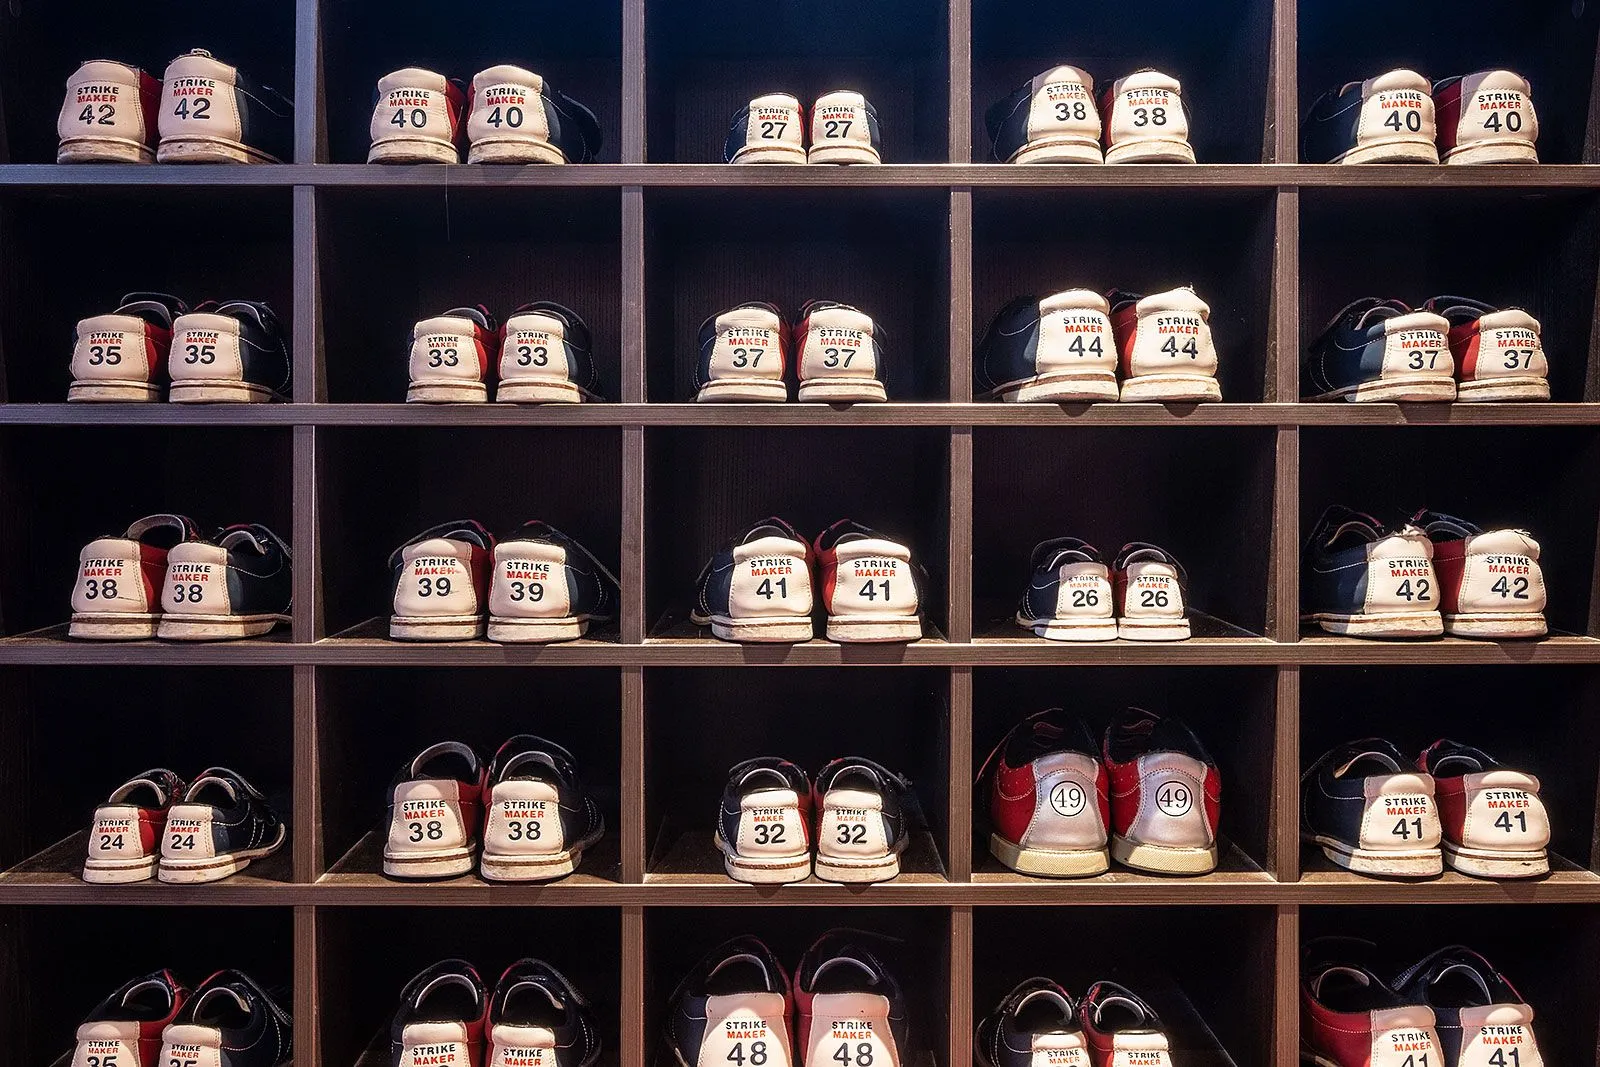
The bowling shoes
The shoes do more than protect the floor - they let you slide into the shot. The flat sole lets you glide on the polished approach, which makes the throw smoother and more controlled. Bowling shoes often come up large, so a good rule of thumb is to take one size down. The shoe should feel snug without pinching.
The bowling ball
Most of us pick a ball by weight alone, but there are more things worth considering.
The thumb hole
Many players pick a ball with an oversized thumb hole because they are afraid of getting stuck. The result is that you have to grip harder, and the throw becomes less controlled. Try a few and notice which ball lets your hand stay most relaxed. If holding on feels like hard work, the hole is probably too big.
The finger holes
The next thing to consider is the distance from the thumb hole to the other two. As above, look for a ball that lets your hand stay as relaxed as possible. The holes should sit at a distance where you get a firm grip without having to stretch your fingers.
The weight of the ball
Weight matters a great deal once you start your throw. A heavier ball knocks pins down more easily, but the most important thing is to choose one that feels comfortable to throw. You should be able to complete a full swing without the ball dragging you down. Try a practice swing before your first throw.
Tip 2 - Use the right stance before the throw
With the equipment sorted you may feel ready for the lane, but there are a few steps left before you collect that long-awaited strike. First you need to stand and hold well, so that you can then throw well.
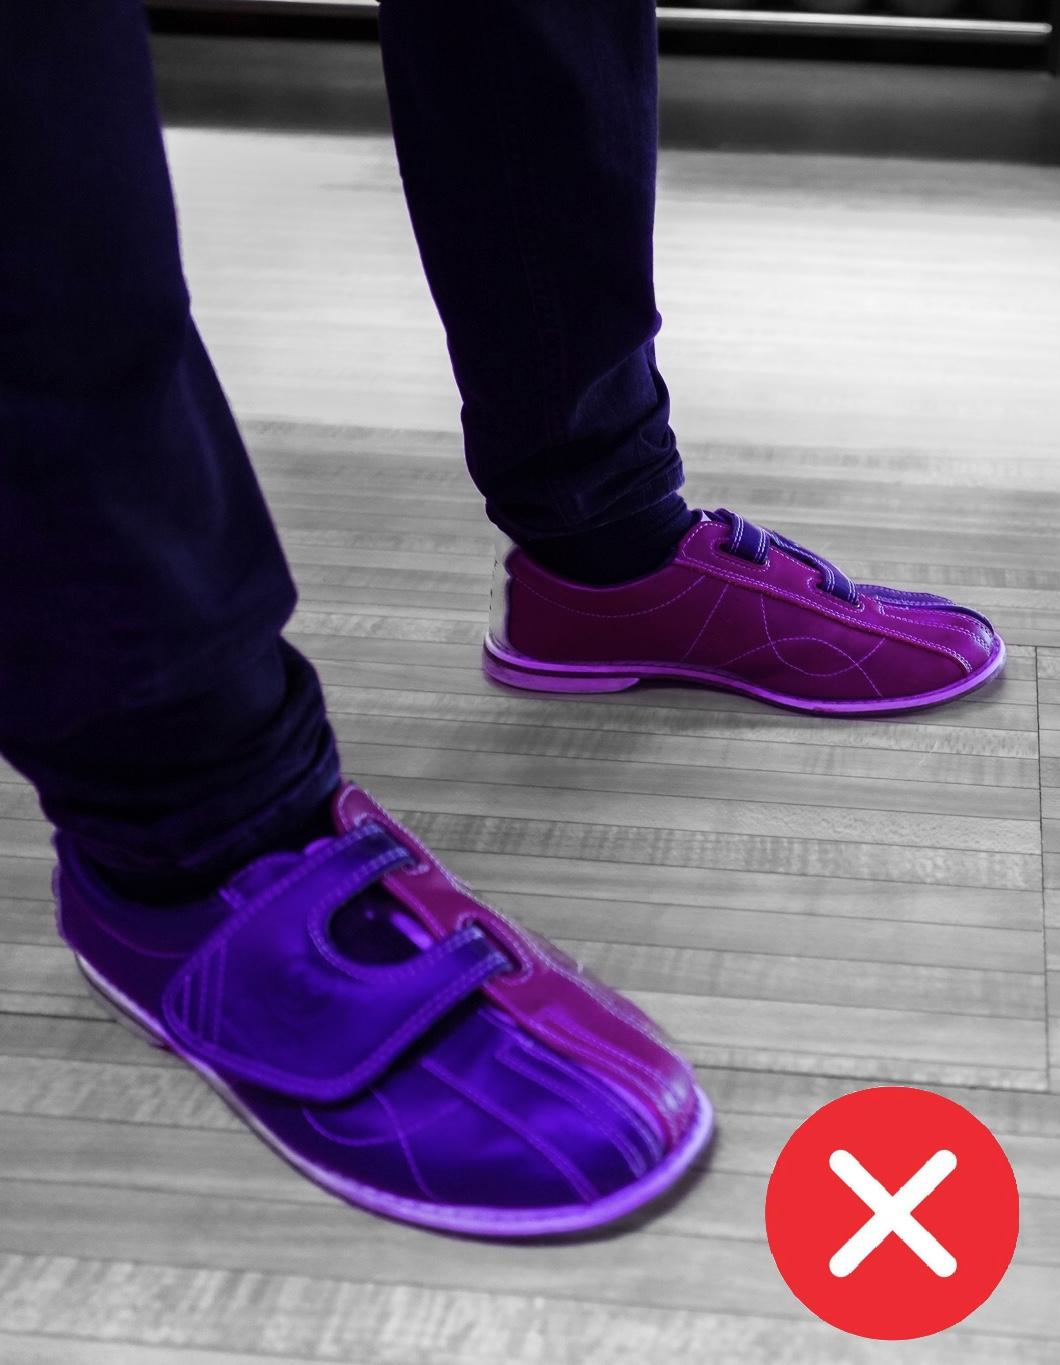
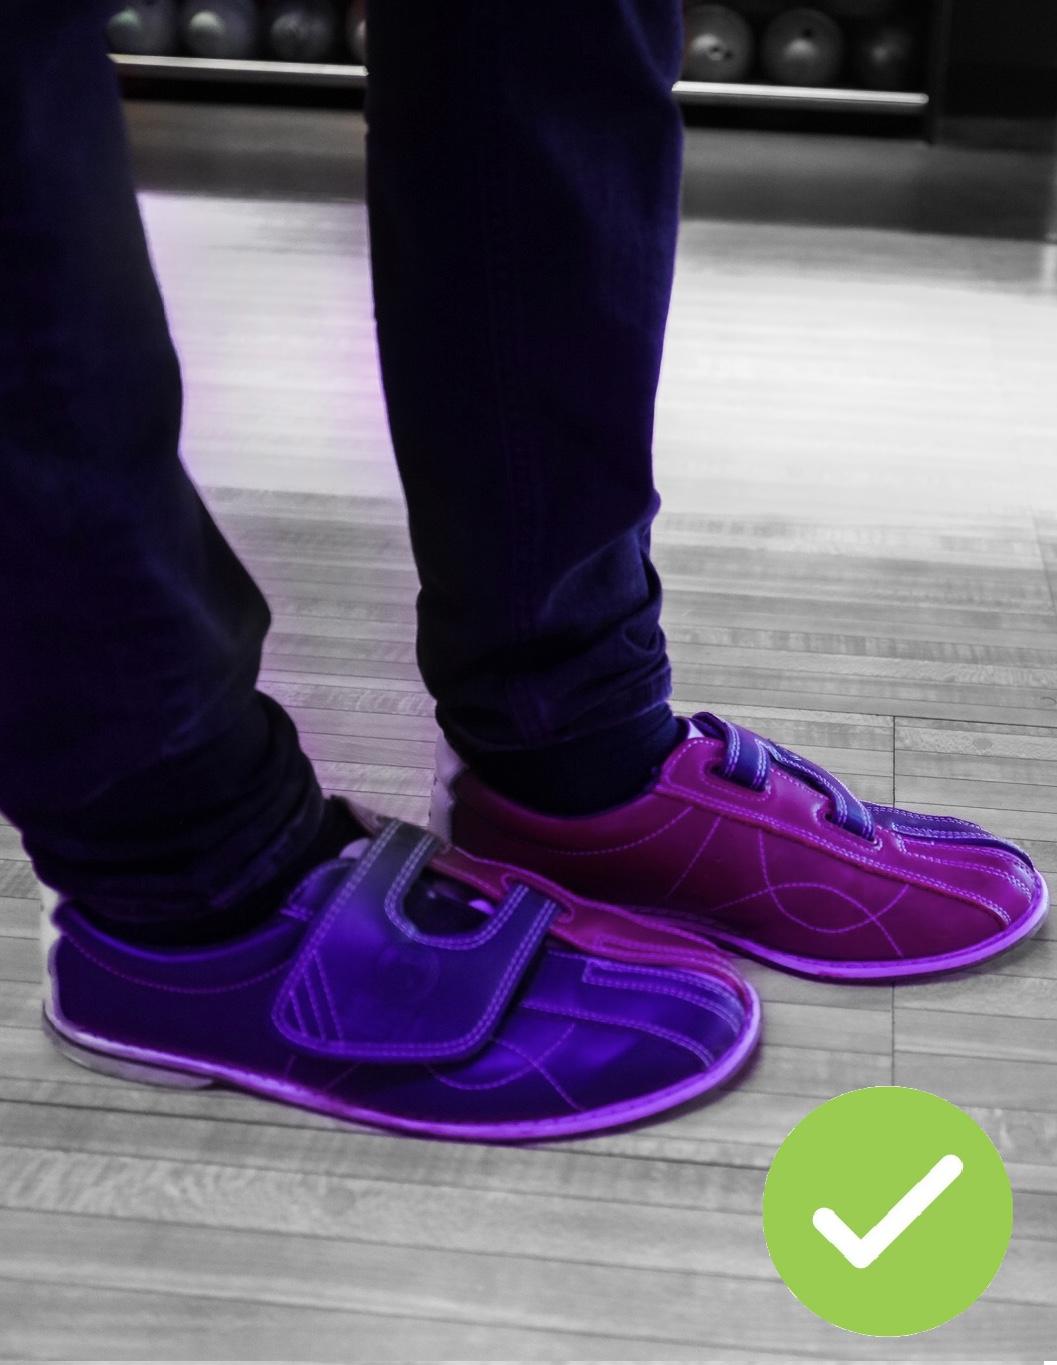
Step 1. Foot position and posture
Your feet should be close together, with the foot on the same side as your dominant hand just behind the other. If you are right-handed, your right foot goes slightly behind your left. Avoid long strides - it keeps the movement easier, since in this case it is the left foot that moves first.
Otherwise, keep your legs relaxed and your posture straight.
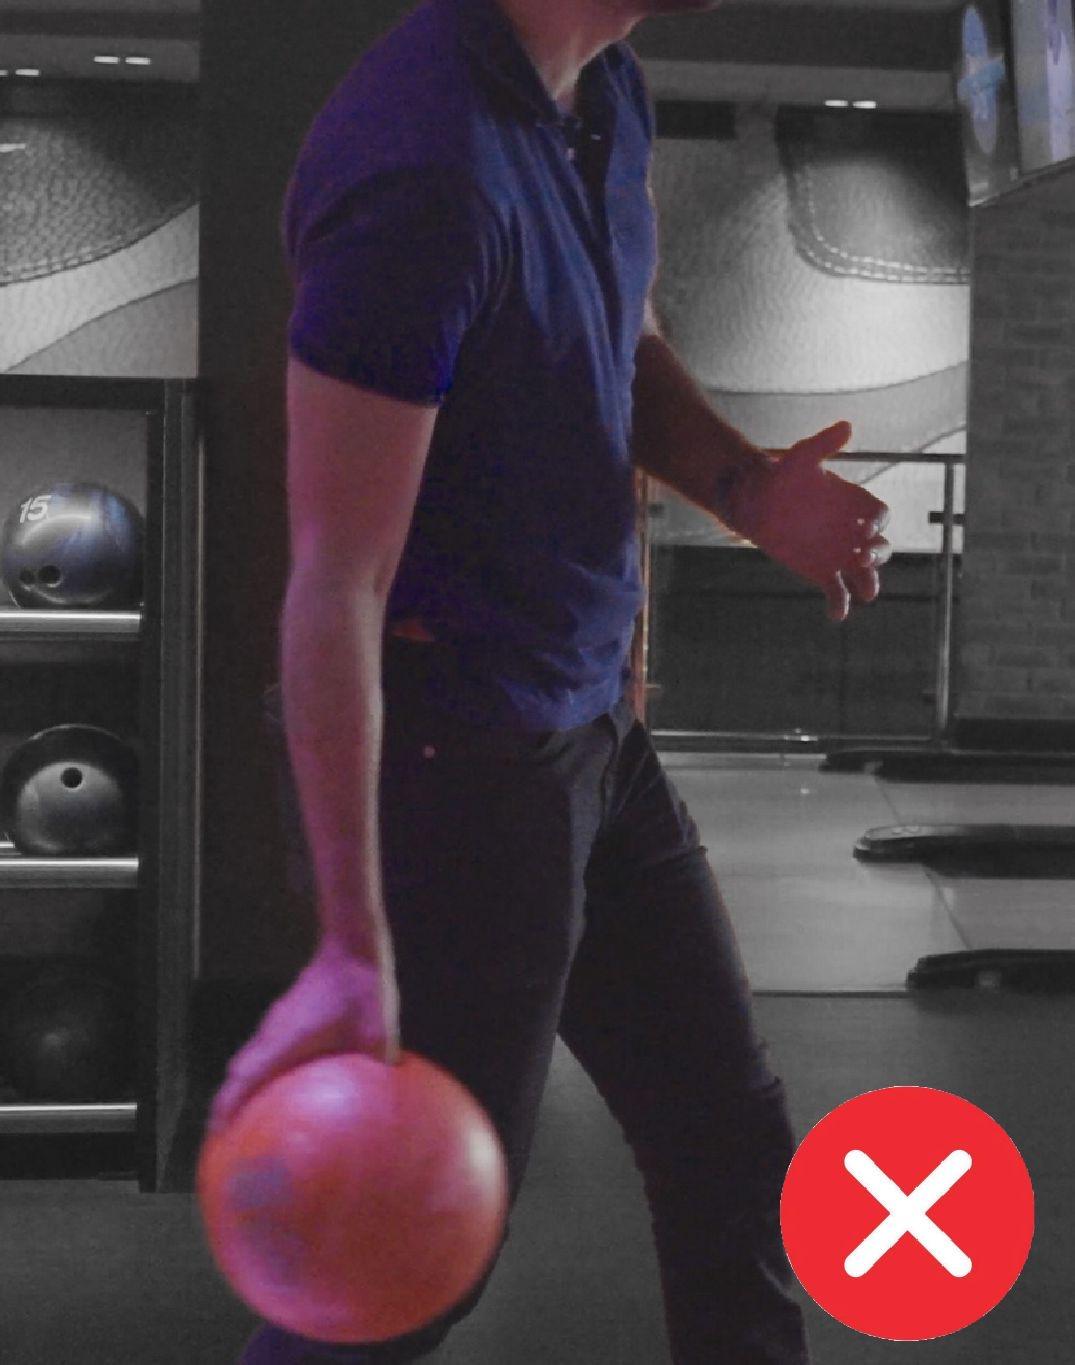
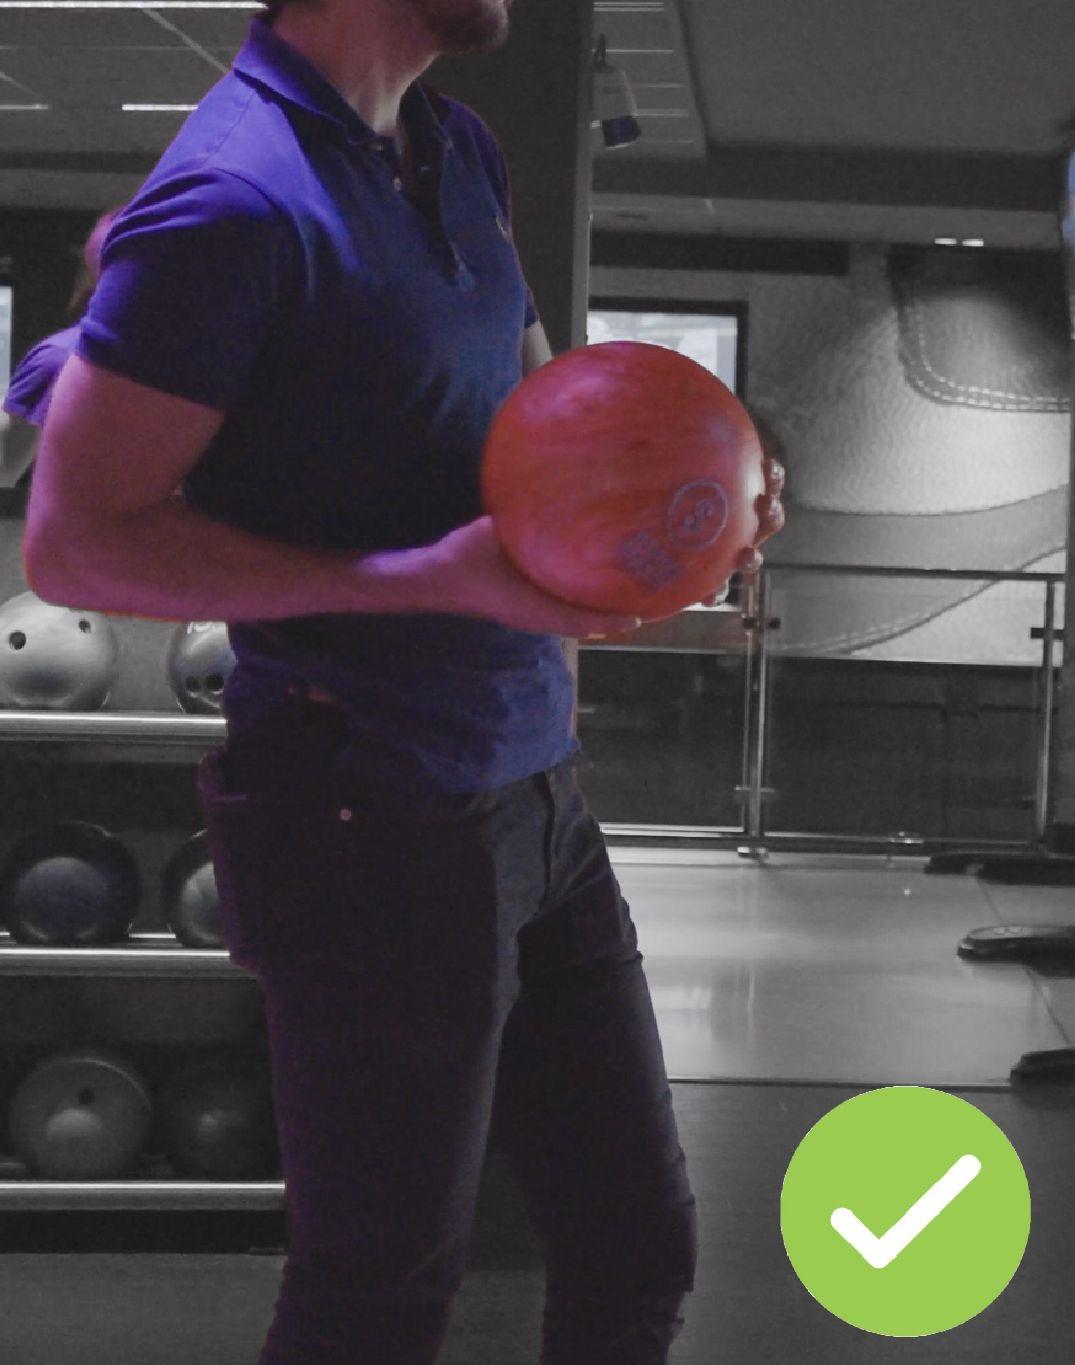
Step 2. Arm position
A common mistake is holding your arm too far from your body. Instead, keep the ball close to you with your elbow by your side. That makes the swing straighter and stops you pulling the ball out sideways.
Step 3. Hand position
The hand holding the ball should sit underneath it, so your wrist carries the weight. Your other hand can support it lightly from the side until you start the swing. Keep the wrist straight - if it bends back you lose both power and control.
Tip 3 - Get the movement right in your throw
With your stance sorted it is time for the throw itself. It has three parts: the approach, the swing and the release.
Step 1. The approach
As you move from your starting position to the foul line, the ball should travel with you in one smooth motion. Take small steps and let the foot opposite your throwing hand take the last step, so you can slide into the release with your balance intact.
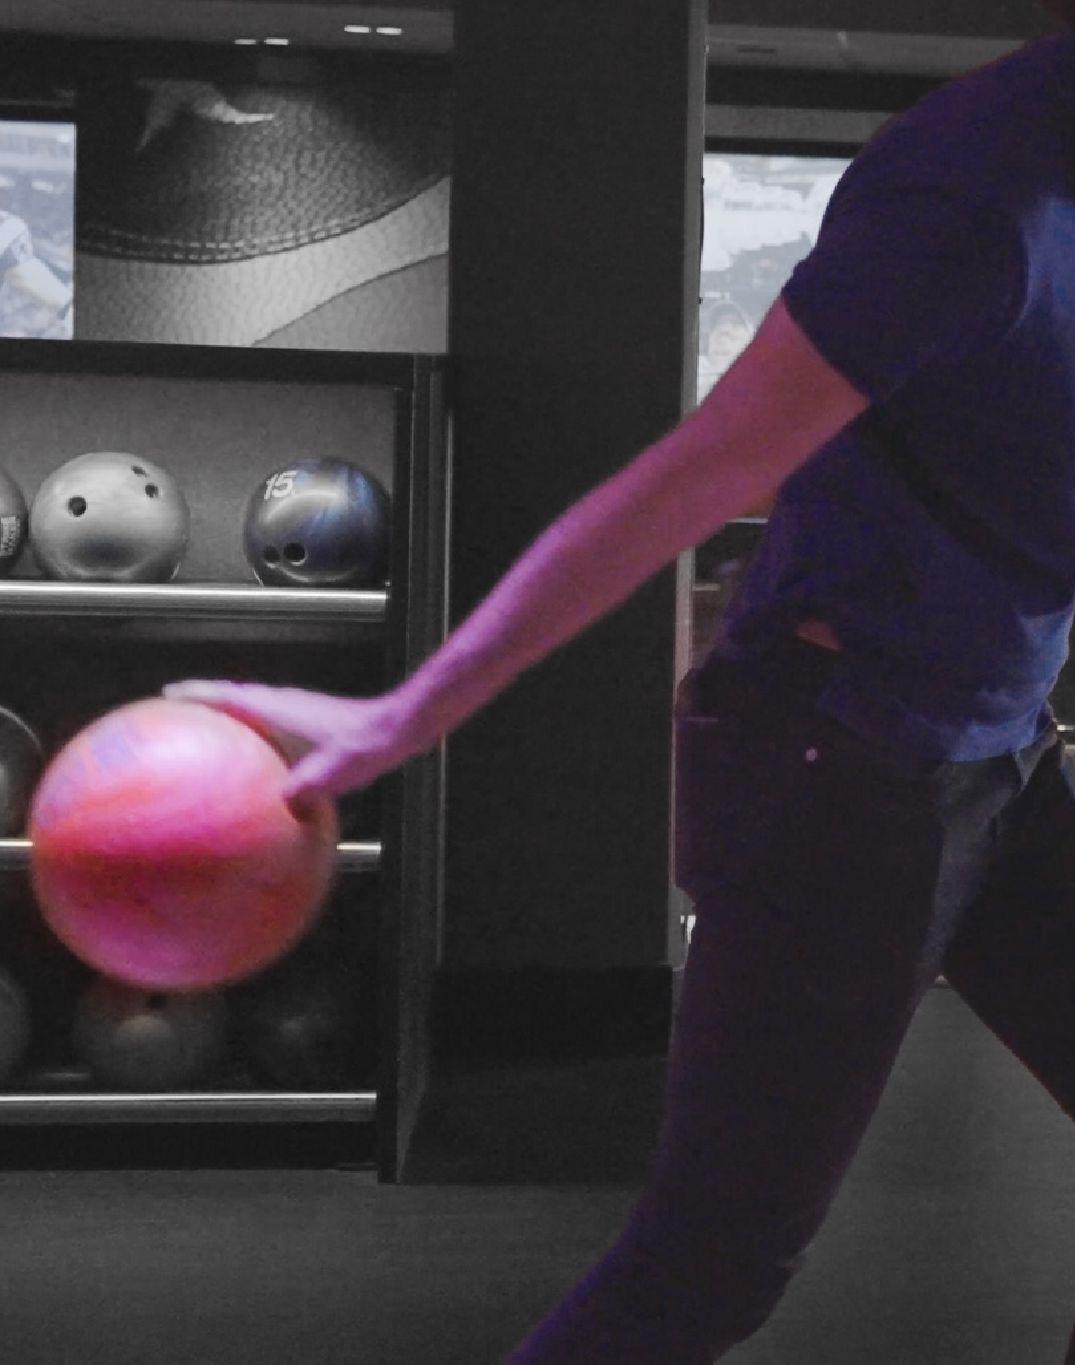
Step 2. The swing
Once you reach your throwing position, let the ball swing back under its own weight, roughly to shoulder height, and then forward again. Keep your arm straight and relaxed - it is the pendulum motion that does the work, not muscle power.
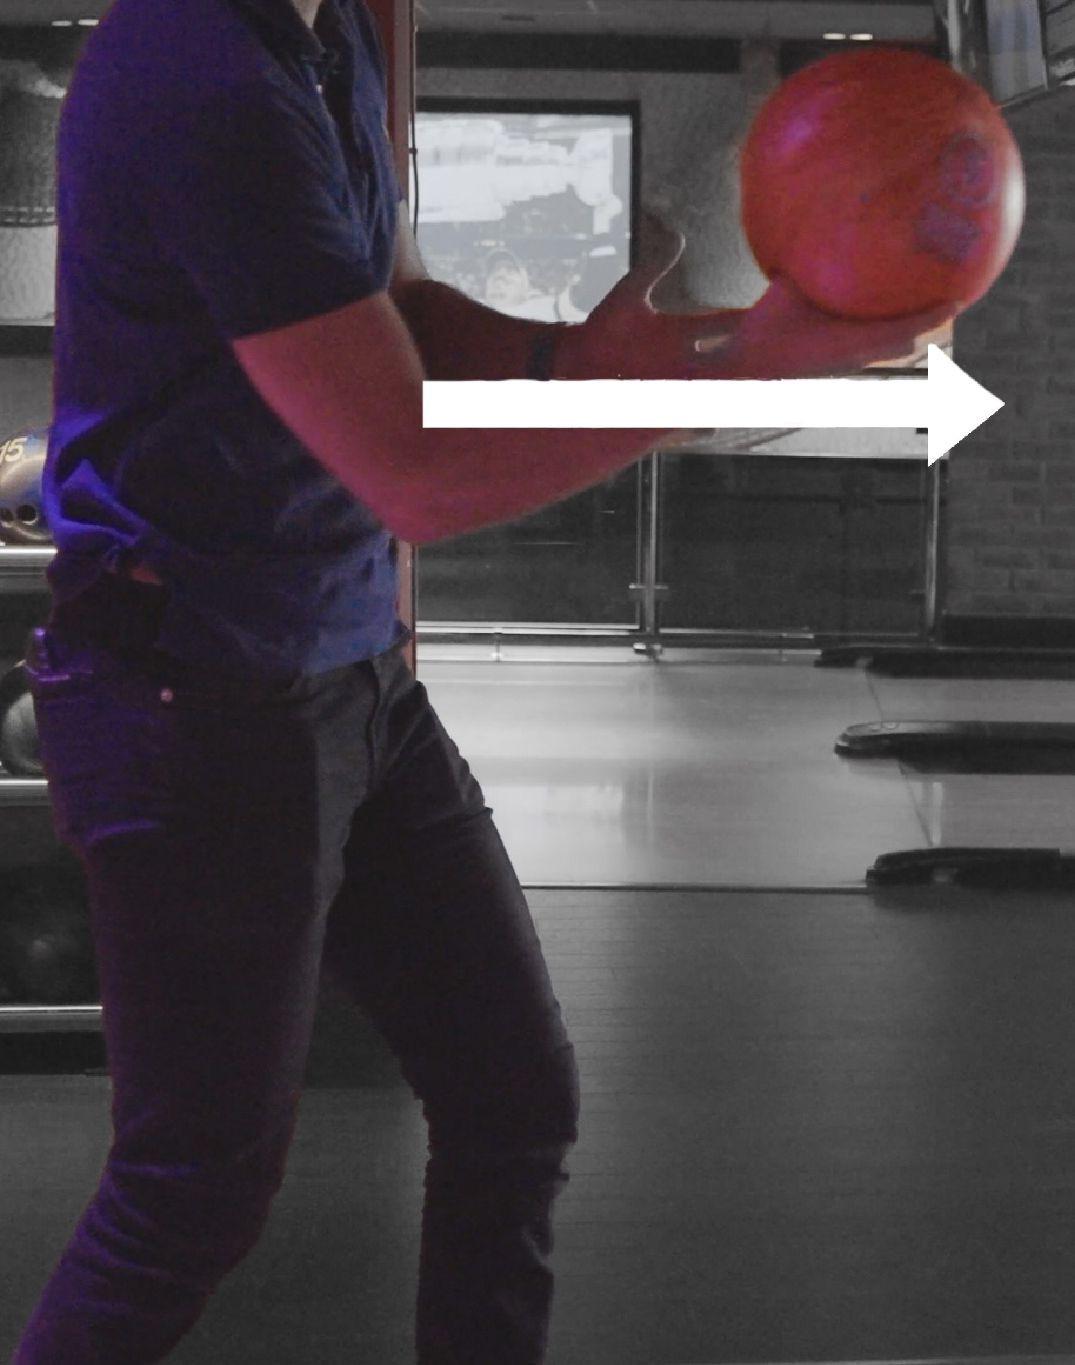
Step 3. The release
When the ball passes your leading knee it is time to let go. Let your thumb leave the ball first and your fingers last - that is what puts rotation on the ball. Finish with your arm continuing upwards towards your target rather than stopping dead.
There are seven arrows on the lane a short way past the foul line. Aim at those rather than at the pins - it is far easier to hit a target a few metres away than one eighteen metres away. Keep your eyes on the same arrow throughout the throw.
Now we at Nordic Sportsbar hope you feel ready to take on the lane - and your friends.
Go to the bowling page